Setting up a green screen can significantly enhance the quality of your streaming or content creation, making it look more professional and engaging. When done correctly, a well-implemented green screen can transport you seamlessly into various virtual environments, adding substantial production value to your projects. This guide will walk you through the essential steps for setting up a green screen, the tools required, and tips for achieving the best results.
The Essentials of a Green Screen Setup
Why Use a Green Screen?
Using a green screen, or any chroma key color background, allows you to replace your background with any image or video, providing endless possibilities for creativity. Whether you are live streaming, filming a YouTube video, or creating content for social media, a green screen can elevate your visual presentation.
Required Tools and Equipment
-
Camera: A decent webcam is essential. Look for models that capture high frame rates in Full HD (1080p) or 1440p. Some advanced models even support 4K resolution.
-
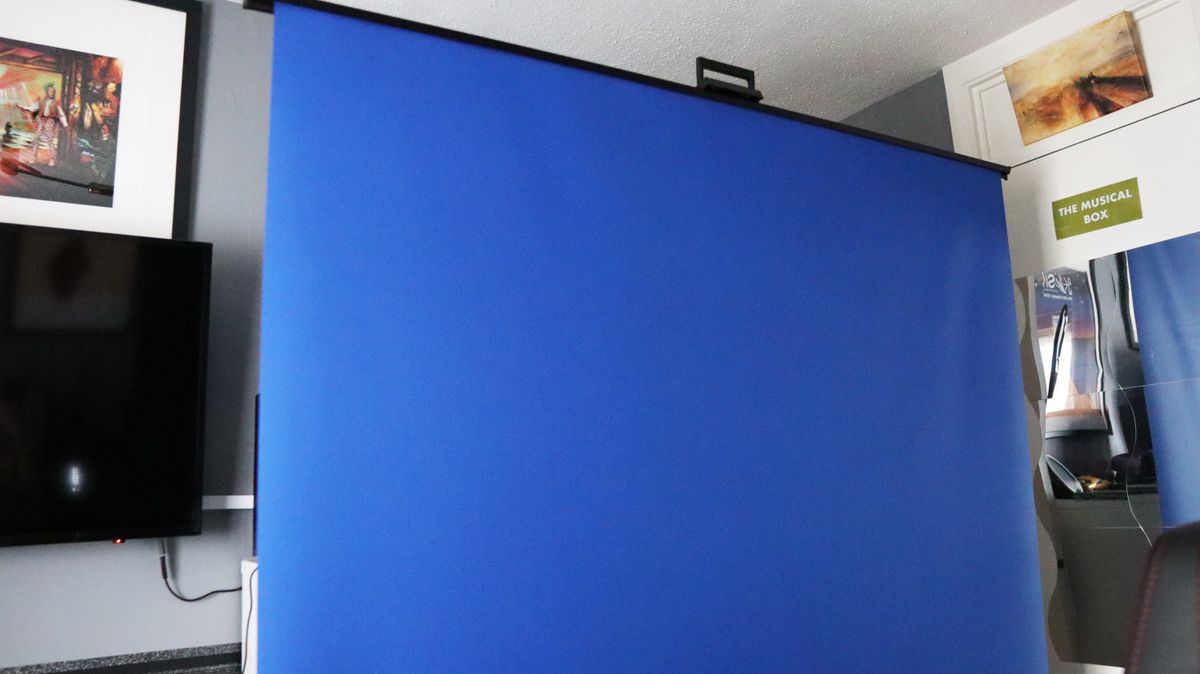
Green Screen: You can use a dedicated green screen, a green wall, or even fabric that can be hung up. For this guide, we will reference the Razer Blue Screen, a popular option that conveniently retracts for easy storage.
-
Lighting: Proper lighting is crucial for a successful green screen setup. Bright, even lighting reduces shadows and graininess, which can complicate the keying process. Softbox lights are a good choice for achieving soft, even illumination.
- Video Editing Software: Depending on your operating system, you may use software like OBS Studio, DaVinci Resolve, or Final Cut Pro to key out the green screen and manage your video.
Setting Up Your Green Screen
Step 1: Prepare Your Environment
Ensure your setup has ample space and that the green screen is positioned correctly behind you. If you don’t have a dedicated green screen, you can improvise with a green wall or fabric.
Step 2: Achieve Optimal Lighting
Lighting is one of the most critical aspects of a successful green screen setup. Aim for:
- Bright, even lighting: Position multiple lights around the green screen to minimize shadows. A well-lit screen will make keying out the background much easier.
- Soft lighting: Use diffusers or softboxes to soften harsh shadows.
Step 3: Use a Quality Webcam
Invest in a good webcam. Higher-quality cameras can capture more detail and produce clearer images, which is essential for effective keying. For instance, testing showed that a 1440p laptop webcam provided superior quality compared to lower-resolution models.
Step 4: Determine Your Software
Different software has unique methods for keying out your green screen. Here’s a quick overview of popular options:
OBS Studio
- Add Your Camera: In the Sources menu, select "Video Output Device" and add your webcam.
- Apply Chroma Key: Click on the "Filters" section, and under the "Effects" tab, choose "Chroma Key." Here, you can select the green color to key out.
- Adjust Settings: Use the "Similarity" slider to refine your keying. If parts of you disappear, dial back the similarity until the background turns black in the preview.
- Add Background: Use "Window Capture" to insert a background image or video behind your keyed footage.
DaVinci Resolve
- Import Footage: Use Control + I to import your video, then drag it to the timeline.
- Access Fusion Tab: Press Shift + Spacebar and type "Delta Keyer" to key out your green screen.
- Fine-Tune: Adjust the sliders to perfect the keying effect, then return to the Edit tab to add a background.
Final Cut Pro
- Import Video: Press Command + I to import your footage, then drag it onto the timeline.
- Apply Green Screen Keyer: Find the "Green Screen Keyer" under the Effects tab, then drag it onto your video.
- Adjust Keying: Use the adjustment sliders to refine the effect and crop as necessary.
Common FAQs
-
Do you need a PC to use a green screen?
While a PC is not strictly necessary, having a capable computer can help process video more efficiently, ensuring smoother keying and playback. - What if I don’t have a stand for my green screen?
You can use alternatives like curtain rods or PVC pipes to create your own support system. While purpose-built stands offer more consistency, improvisation can work in a pinch.
Conclusion
Setting up a green screen might initially seem daunting, but with the right tools and techniques, it can be a straightforward process. By focusing on optimal lighting, a quality camera, and the suitable software, you can create professional-looking content that captivates your audience. As you delve into your creative journey, consider enhancing your audio with a quality microphone to ensure your voice matches the visual impact of your setup. With practice and experimentation, you’ll find your green screen setup will become an invaluable asset in your content creation toolkit.
Leave a Reply