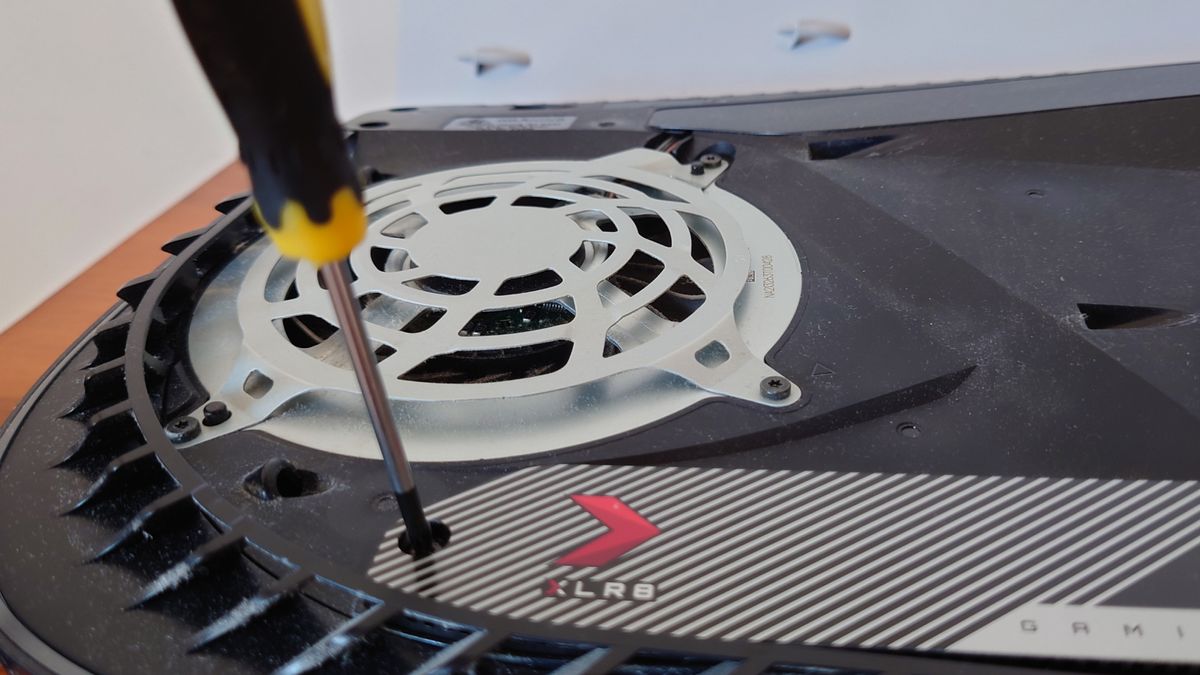
Installing an M.2 SSD in your PlayStation 5 (PS5) is one of the most effective ways to enhance the console’s storage capacity. This upgrade is particularly crucial for gamers who regularly download new titles or play large games. While the installation process may seem intimidating for beginners, it can be completed in just a few minutes once you understand the steps involved. To ensure a smooth experience, we’ve compiled a straightforward guide that will walk you through the entire process.
The PS5 is a remarkable piece of hardware, yet it comes with a significant limitation: storage space. Although the console is marketed with 825GB, the actual usable space available to you is only around 677.2GB, factoring in the operating system and pre-installed applications. For those using the newer PS5 Slim model, you might have slightly more storage, but the limitation still exists. If you find yourself running out of space frequently, upgrading to an M.2 SSD will alleviate that concern.
Why Choose an M.2 SSD?
When considering storage options for your PS5, it’s important to note that external hard drives can only serve as storage devices; they cannot run games directly. An M.2 SSD, on the other hand, offers native compatibility with the PS5’s internal NVMe SSD interface, allowing for faster load times and improved performance. Investing in one of the best SSDs for PS5 will not only expand your storage but also enhance your overall gaming experience.
Selecting the Right M.2 SSD
Before you begin the installation process, it’s vital to choose an M.2 SSD that meets Sony’s specifications:
- Interface: PCIe Gen4 x4 M.2 NVMe SSD
- Capacity: 250GB to 4TB
- Sequential Read Speed: Minimum of 5,500 MB/s (higher speeds are recommended)
- Cooling Structure: Must have a cooling solution, such as a heatsink
- Form Factor: 22110 (22mm wide and up to 110mm long)
- Socket Type: Socket 3 (Key M)
Preparation Steps
Before diving into the installation, gather the following tools and materials:
- M.2 SSD: Ensure it meets the specifications outlined above.
- Flathead Screwdriver: For removing the stand.
- #1 Phillips Screwdriver: For unscrewing the SSD cover and securing the drive.
- Good Lighting: This will help you see the components clearly during installation.
It’s also advisable to place your PS5 on a flat, stable surface, as the console’s unique design can make it unstable when laid on its side.
Installation Process
-
Remove the Stand: Using the flathead screwdriver, unscrew the stand from your PS5, whether it’s mounted horizontally or vertically.
-
Remove the Side Cover: To access the M.2 port, take off the side cover on the disc-drive side. Grip the top left corner firmly, lift it up, and slide the cover to the right. This should disengage the plastic clip and allow you to remove the cover easily.
-
Access the M.2 Port: Once the side panel is removed, locate the M.2 port cover. Use the Phillips screwdriver to remove the screw securing it. After the cover is removed, you will see the slot where the SSD will be inserted.
-
Insert the M.2 SSD: Carefully insert your M.2 SSD at a 45-degree angle into the slot until it makes contact with the connectors. Once in place, gently push the SSD down and secure it using the screw that came with the M.2 port.
-
Reattach the Cover: After securing the SSD, replace the M.2 port cover and ensure it’s fastened properly. Then, slide the side panel back on until you hear a click, indicating that it’s securely in place.
- Reconnect Power: Plug the HDMI and power cables back into the console.
Formatting the SSD
After successfully installing the SSD, the final step is to format it for use with your PS5. This process only takes a few seconds. Upon powering on your console, it will recognize the newly installed SSD and prompt you to format it. Once formatted, you will receive a read speed benchmark from Sony, which should ideally be above the minimum requirement of 5,500 MB/s.
Enjoy Your Expanded Storage
With your newly installed M.2 SSD, you can now transfer larger titles or download new games without worrying about space constraints. For example, games like God of War: Ragnarok (approximately 84GB) can quickly fill up the limited storage space, especially if you’re using the PS5 Digital Edition.
Having additional storage opens up more possibilities, allowing you to keep a diverse library of games ready for instant play. With more blockbuster titles on the horizon, you’ll appreciate the flexibility that an M.2 SSD offers.
In conclusion, installing an M.2 SSD in your PS5 is a straightforward process that can greatly enhance your gaming experience. It allows for faster load times and provides the necessary storage to accommodate today’s large game files. If you love gaming and want to make the most of your PS5, this upgrade is not just recommended; it’s essential.
Leave a Reply